
Easily Optimize Web Images for Speed and Quality
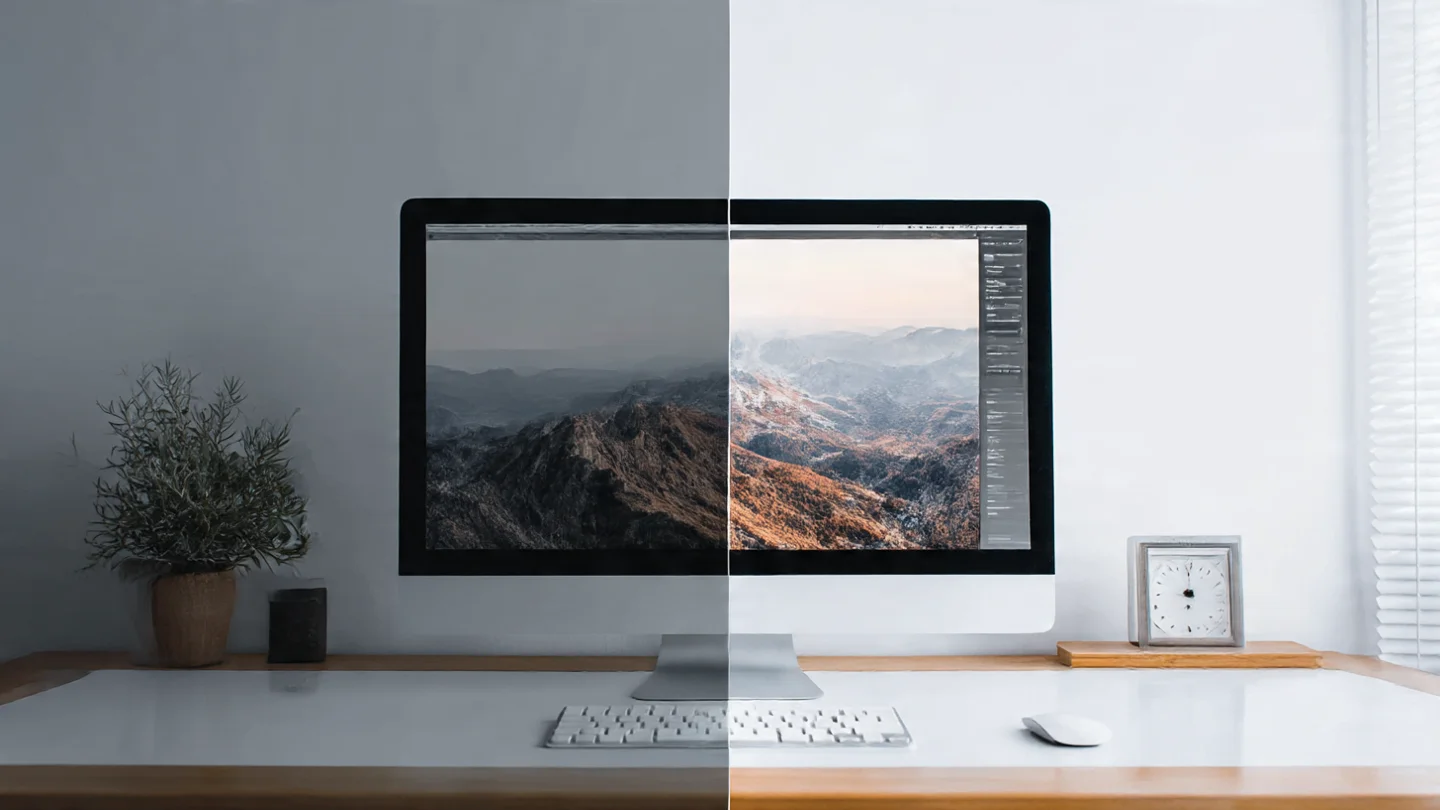
How to Easily Optimize Images for Web (Without Losing Quality)
Key Takeaways
- Optimizing images boosts SEO and improves user experience.
- Choosing the right file format (like WebP or AVIF) significantly reduces file size.
- Lazy loading and responsive images can enhance load time.
- Automation helps maintain optimization without much manual effort.
Table of Contents
- Why image optimization matters (and why it’s not optional)
- Choose the proper file format
- Compress images without losing visual fidelity
- Resize images for their intended display size
- Use lazy loading and progressive techniques
- Use a CDN to serve images globally
- Automate optimization — build it into your publishing workflow
- Serve responsive images and format negotiation
- SEO and accessibility: filenames, alt text, and structured data
- Measuring improvements: test, benchmark, repeat
- Practical step-by-step workflows
- Recommended tools and plugins (quick list)
- Common pitfalls and how to avoid them
- How Dasabo supports image optimization and performance
- Final checklist: optimize images without losing quality
Why image optimization matters (and why it’s not optional)
Large image files are one of the most common causes of slow pages. Slow = worse SEO, lower conversion rates, higher bounce, and unhappy users on mobile networks.
Benefits of optimizing images:
- Faster page load times and improved Core Web Vitals.
- Better search rankings and image discoverability.
- Lower bandwidth and hosting costs.
- Improved user experience on mobile and low-bandwidth networks.
- Higher conversion rates (pages that load quickly keep users engaged).
Even small reductions in image weight can have outsized effects on performance — and modern formats and tools make it possible to do this with almost no visible quality loss.
Choose the proper file format
Picking the right format is your first optimization decision. Each format has trade-offs between compression, quality, transparency support, and browser compatibility.
- WebP — Excellent compression and quality for both photos and graphics. Supports transparency. Wide support in modern browsers.
- AVIF — Even better compression than WebP in many cases with high visual quality. Support is growing; consider fallback options.
- JPEG — Good for photographs when compatibility is required. Use optimized/modern encoders.
- PNG — Use for graphics that need lossless quality or precise transparency. Avoid for photos due to large file sizes.
- GIF — Use only for very simple animations; consider animated WebP or video alternatives for better compression.
Tip: Aim to serve WebP (or AVIF when feasible) for most images, with JPEG/PNG as fallback for older clients where necessary.
Compress images without losing visual fidelity
Compression reduces file size by removing redundant data. There are two main approaches:
- Lossless compression: Reduces file size without changing visual pixels (better for graphics).
- Lossy compression: Removes some visual data but can keep perceived quality high — best for photos.
Recommended compression workflow:
- Export the image at the target dimensions.
- Apply a visually lossless compression level (e.g., JPEG quality 75–85 often looks identical to the human eye).
- Compare original vs compressed at 100% zoom; if differences are negligible, you’ve hit the sweet spot.
Tools to compress images (use whichever fits your workflow):
- Online/Browser: Squoosh, TinyPNG, Compressor.io, Kraken-style tools.
- Desktop: ImageOptim (Mac), RIOT (Windows).
- WordPress: ShortPixel, Smush, Imagify (plugins that automate optimization).
- Cloud/AI: Cloudinary, VanceAI — useful for large-scale image automation.
Important: strip unnecessary EXIF metadata (camera info, GPS, etc.) unless you need it. Removing metadata is a simple way to trim files further.
Resize images for their intended display size
Uploading full-resolution camera photos and relying on HTML/CSS to resize them is wasteful. Always export images at the largest size they will be displayed.
Practical rules:
- Hero images: export to the largest desktop dimension you need (e.g., 2000–2500px wide).
- Content images: export at widths matching content column sizes (e.g., 800–1200px).
- Thumbnails: export at 150–300px.
For responsive delivery, use srcset and sizes in your HTML so browsers pick the best version:
<img
  src="image-800.jpg"
  srcset="image-400.jpg 400w, image-800.jpg 800w, image-1200.jpg 1200w, image-2000.jpg 2000w"
  sizes="(max-width: 600px) 400px, (max-width: 1200px) 800px, 1200px"
  alt="Descriptive alt text"
  loading="lazy"
/>
That snippet lets the browser select the smallest appropriate image for the user’s viewport, saving bytes without degrading quality.
Use lazy loading and progressive techniques
Lazy loading defers image downloads until they’re needed, improving initial load time and reducing unnecessary bandwidth use.
- Native lazy loading: add
loading="lazy"to <img> elements. - JavaScript libraries: offer more advanced options like threshold triggers and intersection observers.
- Progressive JPEGs and progressive/streaming WebP: show a low-quality preview quickly while a higher-quality version loads.
The “blur-up” technique:
- Serve a tiny blurred placeholder (8–20px) while the full image loads.
- Replace it with the full-size image once downloaded for a smooth perceived performance boost.
Simple CSS-based blur-up approach:
<div class="image-placeholder" style="background-image:url('image-blur-20.jpg')">
  <img src="image-800.jpg" alt="…" loading="lazy" />
</div>
<style>
.image-placeholder img {
display:block;
width:100%;
height:auto;
transition: opacity 300ms ease;
opacity:0;
}
.image-placeholder img.loaded {
opacity:1;
}
</style>Add a small JS snippet to add the .loaded class after the image’s load event.
Use a CDN to serve images globally
A Content Delivery Network (CDN) reduces latency by serving images from edge servers close to users. CDNs can also perform on-the-fly optimization (convert to WebP/AVIF, resize, compress) which automates many steps.
Benefits of a CDN:
- Lower latency worldwide.
- Automatic image transformations in many CDN platforms.
- Caching that reduces origin server load and bandwidth costs.
If you host with a provider that includes CDN integration, enable it for static assets (images, CSS, JS) for instant performance wins.
Automate optimization — build it into your publishing workflow
Manual optimization is fine for a few images, but automation scales and removes human error.
Automation methods:
- WordPress plugins: configure lossless/lossy compression, auto-convert to WebP, lazy-load, and strip metadata on upload.
- Build tools: integrate image optimization into build pipelines (Gulp, Webpack, or image optimization CLI tools).
- Cloud services: let a CDN or image platform handle on-request transformations and format negotiation.
For WordPress sites, combine a fast host, a good image optimizer plugin, and a CDN for a largely hands-off solution.
Check out Dasabo’s WordPress Hosting and web server solutions to pair optimized images with fast infrastructure.
Serve responsive images and format negotiation
Modern browsers support content negotiation where the server or CDN can serve the best format (AVIF/WebP/JPEG) based on the client’s capabilities. Use this where possible.
Two approaches:
- Pre-generate multiple formats and use <picture> or srcset to provide fallbacks.
- Let your image CDN dynamically serve the best format (saves storage and simplifies publishing).
Example with the <picture> element:
<picture>
  <source type="image/avif" srcset="image-800.avif 800w, image-400.avif 400w"></source>
  <source type="image/webp" srcset="image-800.webp 800w, image-400.webp 400w"></source>
  <img src="image-800.jpg" srcset="image-400.jpg 400w, image-800.jpg 800w" alt="…" loading="lazy">
</picture>
This ensures modern browsers get the smallest, best format while keeping compatibility.
SEO and accessibility: filenames, alt text, and structured data
Optimized images help SEO only when you also optimize their metadata.
Best practices:
- Use descriptive, keyword-rich filenames: e.g.,
blue-running-shoes-men-2025.jpgrather thanIMG_0523.jpg. - Write helpful alt text that describes the image and, when relevant, includes keywords naturally (avoid keyword stuffing).
- Use image sitemaps or include images in structured data where appropriate to help search engines index important visuals.
Accessibility matters: alt text and semantic code help screen reader users and improves overall site quality.
Measuring improvements: test, benchmark, repeat
Before-and-after testing is essential to validate optimization choices.
Key metrics to track:
- Page load time, Time to First Byte (TTFB), Largest Contentful Paint (LCP).
- Total page weight and number of requests.
- First Input Delay (FID) and Cumulative Layout Shift (CLS) where images can have an impact.
- Conversion metrics and bounce rate changes after optimizations.
Use regular audits and schedule re-optimizations when you change templates or add new image-heavy pages.
Practical step-by-step workflows
Below are workflows tailored to different roles.
For content creators (non-developers):
- Export images at the size you need (use your CMS image editor or an image app).
- Use an online compressor or your site’s image plugin to reduce size and strip metadata.
- Add descriptive filenames and alt text.
- Upload to your CMS and enable lazy loading in your site settings.
For developers:
- Set up a build step to generate optimized images in WebP/AVIF and multiple sizes.
- Use srcset/sizes or <picture> in templates.
- Integrate a CDN that performs on-the-fly format negotiation.
- Monitor performance with automated tests and Lighthouse CI.
For IT/DevOps:
- Deploy a CDN with image optimization rules and cache headers.
- Ensure your web hosting or VPS has sufficient resources to serve transformed assets quickly.
- Configure automated optimization for user uploads, including background jobs and queueing for heavy batches.
- Maintain monitoring and alerts for bandwidth spikes and cache hit ratios.
If you run WordPress, pairing robust hosting with plugin-based automation is an efficient route. Explore Dasabo’s WordPress Hosting and VPS offerings to find the right balance of automation and control.
Recommended tools and plugins (quick list)
- Browser/Desktop: Squoosh, ImageOptim (Mac), RIOT (Windows).
- Online: TinyPNG, Compressor.io.
- WordPress plugins: ShortPixel, Smush, Imagify — configure them to auto-convert to WebP and strip EXIF.
- Cloud/CDN: Use platforms that offer on-the-fly resizing and format conversion to AVIF/WebP.
- Automation/AI: VanceAI-style compressors for bulk or higher-quality AI-driven reductions.
Pair these tools with a fast host and CDN for best results. For reliable hosting with performance-friendly infrastructure, see Dasabo’s Web Hosting and VPS Hosting options.
Common pitfalls and how to avoid them
- Uploading giant originals and relying on HTML/CSS to scale: export to correct dimensions first.
- Over-compressing: if artifacts are visible at normal viewing distance, back off quality settings.
- Forgetting fallbacks for older browsers: use <picture> or server-side negotiation to ensure graceful degradation.
- Missing lazy load on long pages: images below the fold should lazy-load to prioritize critical content.
- Not measuring: optimization without testing can accidentally hurt UX; always benchmark.
How Dasabo supports image optimization and performance
Optimizing images is only part of the performance puzzle. The hosting and delivery setup behind your site matters just as much.
How Dasabo helps:
- Fast, reliable Web Hosting plans suitable for small sites and business sites — reduce latency and improve LCP by serving assets from optimized servers. Check out our Web Hosting plans.
- Managed WordPress Hosting tuned for speed, with compatibility for plugins that automate image compression — perfect if you run a WordPress site. Learn more about Dasabo’s WordPress Hosting.
- VPS and dedicated server options for developers and high-traffic sites that need full control over image pipelines and CDN integration. Explore our VPS Hosting and server solutions.
- Domain registration and DNS management that lets you manage image subdomains and CDN CNAMEs effectively. Start with Domain Registration at Dasabo.
Combine optimized images with the right hosting configuration — caching, CDN, and server resources — and you’ll see substantial speed and SEO gains.
Final checklist: optimize images without losing quality
- Choose the right format (WebP/AVIF for modern browsers).
- Export images at display size (don’t upload camera originals).
- Compress with an appropriate quality setting (test visually).
- Strip unnecessary metadata.
- Serve responsive images with srcset and sizes or <picture>.
- Use lazy loading and progressive/blur placeholders for perceived speed.
- Deliver via a CDN and enable format negotiation when possible.
- Automate in your CMS or build process to scale.
- Measure before and after using performance tools and user metrics.
Small consistent improvements compound. Optimizing images is low-hanging fruit that directly improves user experience, SEO, and conversion rates.
If you want a hands-off approach, pair automated image optimization plugins with fast hosting and CDN delivery — together they solve most performance problems. Check out Dasabo’s WordPress Hosting for built-in performance benefits, or explore our Web Hosting solutions for reliable, fast delivery.
FAQ
What is image optimization?
Image optimization involves reducing the file size of images without significantly impacting their quality, enhancing website performance and SEO.
Why is image format important?
Different image formats offer varying balances of quality, compression, and compatibility, impacting how images load and appear on different devices.
What tools can I use for image optimization?
Tools like Squoosh, TinyPNG, and WordPress plugins like ShortPixel and Smush can help effectively optimize images for use on the web.
How can I assess my image optimizations?
You can assess optimizations through metrics like page load time, Total Page Weight, and by conducting before-and-after tests to track performance improvements.
Can I automate image optimization?
Yes, many Web Hosting platforms and WordPress plugins can automate the image optimization process, saving time and ensuring consistent file reductions.