
Migrate Your WordPress Site to a New Host Safely
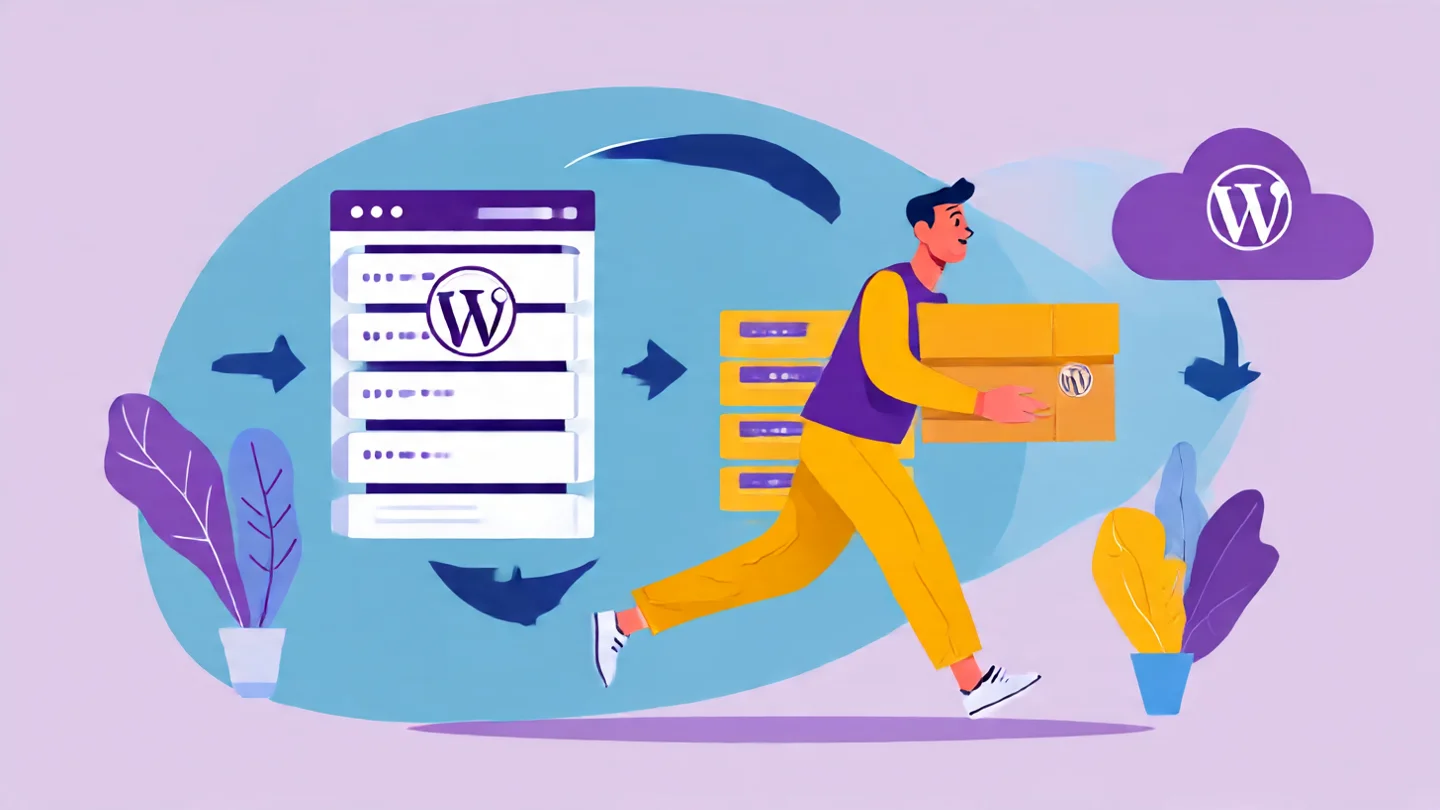
How to Migrate Your WordPress Site: A Step-by-Step Guide to Safely Move Your WordPress Site to a New Host
- Improved Performance: Switch to a host with better speed and uptime.
- Cost Efficiency: Find a more affordable hosting solution.
- Enhanced Features: Access better tools and functionalities.
- Customer Support: Choose a host with superior technical support.
Table of Contents
- Preparation Before Migration
- Choose Your Migration Method
- Plugin-Based Migration
- Manual Migration
- Key Considerations
- Conclusion
- FAQ
Preparation Before Migration
Before you start the migration, it’s crucial to prepare your site properly.
- Back Up Your Entire Website: This includes both files and databases. You can use plugins like UpdraftPlus or Duplicator for simplicity, or manually download files and export your database using tools like phpMyAdmin. Regular backups are essential for preventing data loss.
- Make a Checklist: Identify all critical data, plugins, themes, and custom configurations you want to keep. Having a checklist makes the migration smoother and ensures nothing gets overlooked.
Choose Your Migration Method
When it comes to migrating your WordPress site, you typically have two routes:
- Plugin-Based Migration: Automated and user-friendly, plugins handle most of the work for you.
- Manual Transfer: Offers deeper control and is suited for larger or complex sites.
Plugin-Based Migration
Using a plugin makes the migration process simpler. Here’s how to do it with a popular choice, Duplicator:
Step-by-Step Plugin Migration
- Install Duplicator: On your source site, go to Plugins > Add New, and search for Duplicator. Install and activate it.
- Create a Site Package:
- Navigatate to Duplicator > Packages.
- Click “Create New” and follow the prompts to build a package that includes all your site files and your database.
- Download the Package: After the package is built, download both the archive (which contains everything) and the installer script.
- Upload Package to New Host:
- On your new host, create a new directory for your WordPress install (make sure you have a clean install of WordPress).
- Use FTP or your hosting control panel to upload the downloaded Duplicator package files to the new host.
- Run the Duplicator Installer:
- Open a web browser and navigate to the installer script (something like
http://yournewdomain.com/installer.php). - Follow the instructions provided by Duplicator to unpack the files and restore your database.
- Open a web browser and navigate to the installer script (something like
- Update Site URLs: Confirm that all links and media paths work correctly. Duplicator typically handles this but verify it just to be safe.
- Test Your Site: Visit your new URL and check everything for functionality, whether links are working and if the layout appears as it should.
- Update DNS Settings: Change your domain’s nameservers or A record to point to your new host. Remember that DNS changes may take up to 48 hours to propagate fully.
- Monitor and Finalize: Once everything is up and running smoothly, delete your old hosting account, but ensure you’ve kept backups until you are absolutely certain everything is working correctly.
For more detailed instructions on using Duplicator, you can refer to this comprehensive guide.
Manual Migration
If you prefer more control over the migration process or have a complex site, you might opt for a manual migration method. Here’s how to do it:
Step-by-Step Manual Migration
- Back Up Site Files:
Use FTP or your hosting control panel to download all files from the old host’s WordPress root folder.
- Export the Database:
Use phpMyAdmin or similar tools to export your MySQL database as a .sql file.
- Create a New Database on the Destination Host:
Access your new hosting account’s control panel, set up a new MySQL database, and create a new user with permissions.
- Upload Files to New Host:
Use FTP/SFTP to upload your WordPress files to the new server’s web root.
- Import the Database to New Host:
Use phpMyAdmin on the new host to import the .sql file into the new database.
- Edit wp-config.php:
Update your database name, user, and password credentials in your new
wp-config.phpfile. Here’s an example update:define('DB_NAME', 'new_db_name'); define('DB_USER', 'new_db_user'); define('DB_PASSWORD', 'new_db_pass'); - Update Site URLs: If your domain has changed, make sure all URLs are updated accordingly. You might find plugins or tools helpful for this task.
- Test the New Site:
Access your site via a temporary URL or modify your hosts file to ensure everything works.
- Update DNS Settings: As with the plugin method, change your domain’s nameservers or A record to point to your new host.
- Monitor and Finalize: Ensure your site is fully functional on the new server before letting go of your old host.
Key Considerations
- Check Hosting Provider Services: Many hosting providers, including Dasabo, offer free or paid migration services. This can significantly streamline your process.
- Always Keep Backups: Multiple backups before starting can save you from severe headaches down the line.
- Schedule Migration Wisely: For large or complex sites, plan migrations for off-peak hours to minimize impacts on users.
Conclusion
Migrating your WordPress site to a new host, whether through a plugin-based method or manually, can be straightforward if executed systematically. Remember that thorough preparation, precise execution, and testing are key to a successful migration.
If you’re looking to enhance your website experience with seamless hosting solutions, explore Dasabo’s hosting plans and consider registering a domain with us.
Your website’s stability and performance are key to your success—make the switch today for a better tomorrow!